Experience the thrill of Nintendo Switch gaming on your PC with the Suyu emulator!
Here in this guide, we shall take you through the process step-by-step for setup, so that you will be able to enjoy your favorite Nintendo Switch titles right from your computer.
Say goodbye to being limited by the console, and say hello to limitless possibilities and endless fun!
How to Set Up Suyu Emulator & Play Nintendo Switch Games on Your PC
Setting up and making the Suyu Emulator work incorporate sub-steps, like installing the Production Keys, Title keys, and Firmware.
Below is a well-segmented step-by-step guide in sequence to set up the emulator.
Step 1: Download & Launch Suyu Emulator
To get started, we’ll have to first download and launch the Suyu Emulator on your PC.
To do so:
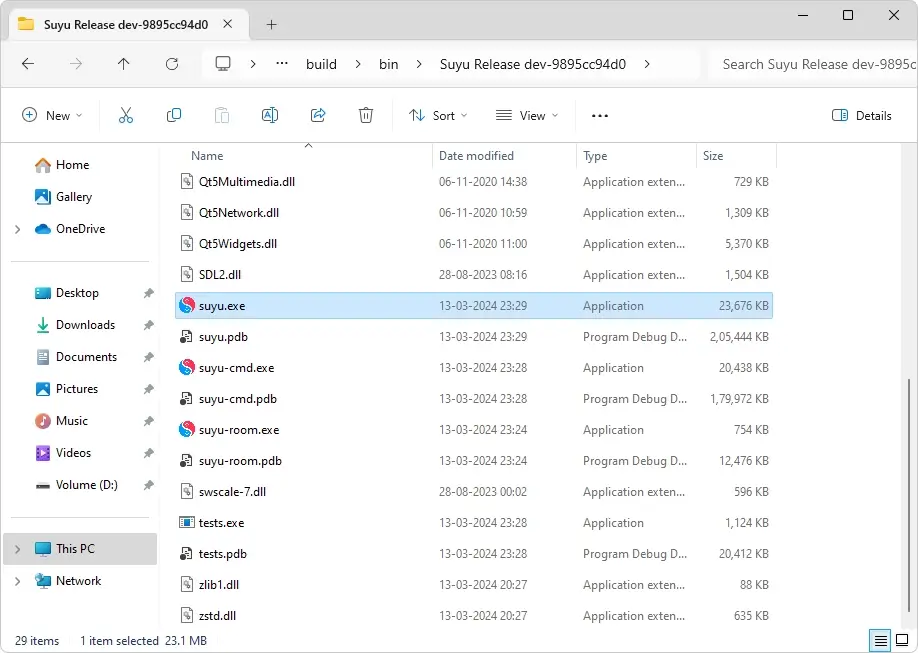
1. Download and extract the Suyu Emulator file from the provided link.
2. After extraction, run the “suyu.exe” file by double-clicking on it.
This will launch the Suyu Emulator on your PC.
Step 2: Install Prod and Title Keys
1. Upon opening the emulator, a message is displayed saying, “Encryption keys are missing.”
This is a message to show that the Prod and Title keys need to be installed into the emulator.

To solve this, begin downloading the Suyu Keys files from the link given below and extract the file on your PC.
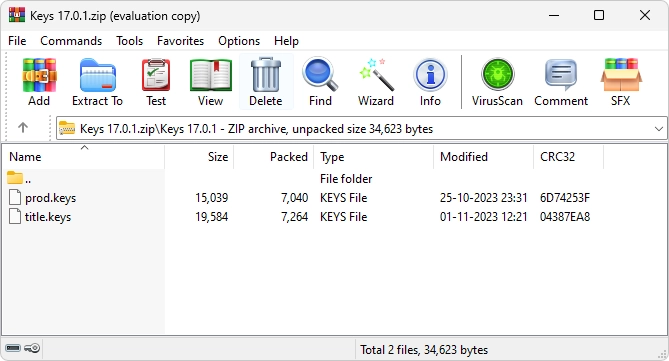
2. Once extracted, copy the “prod.keys” and “title.keys” files..
3. Now, launch the Suyu emulator and navigate to the “File” option in the menu bar.
Select “Open suyu Folder.”
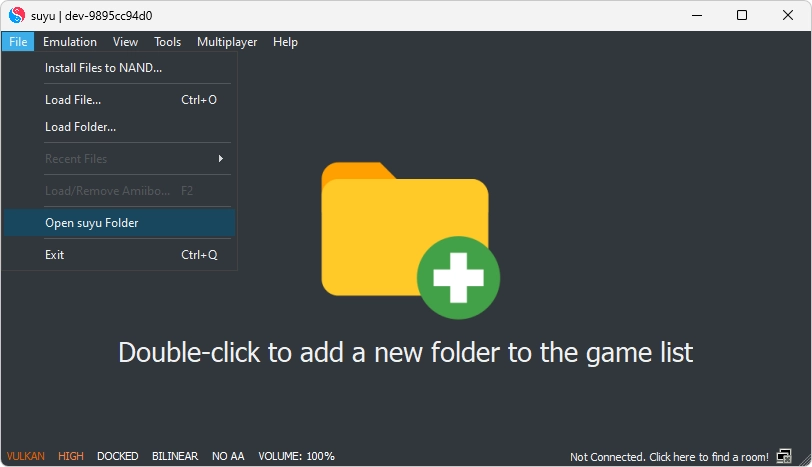
4. You’ll now be inside the Yuzu’s main folder.
Here, locate and open the “keys” folder.
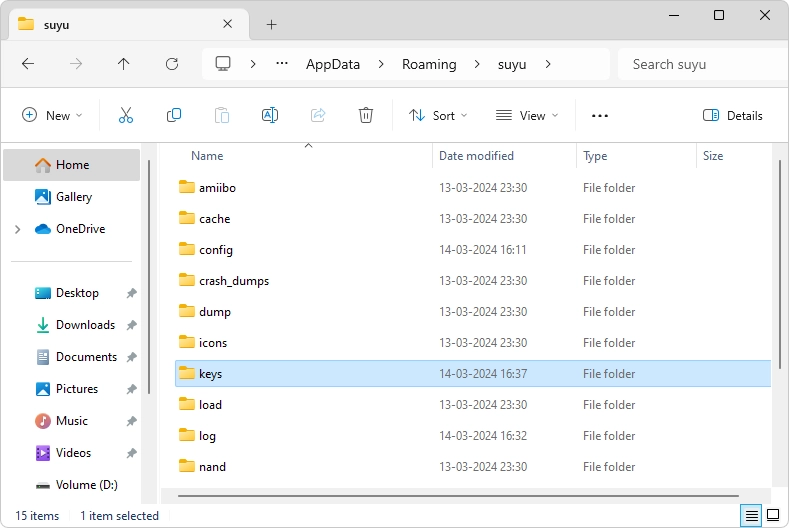
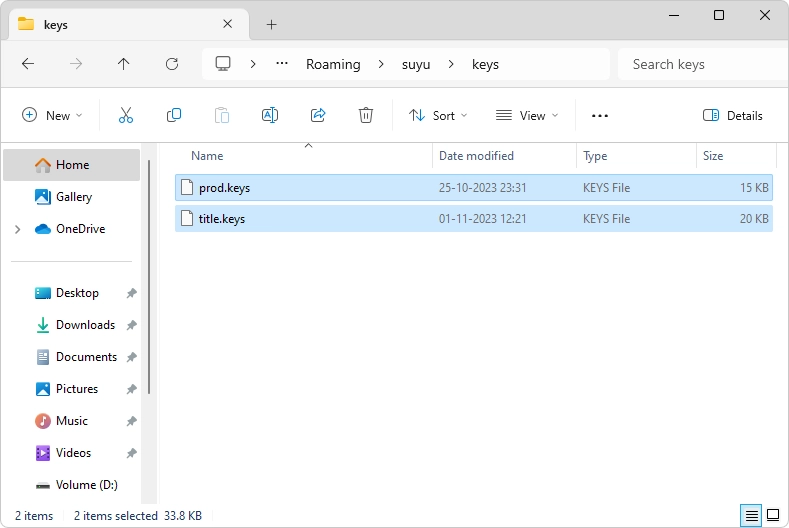
5. Inside the “keys” folder, paste the “prod.keys” and “title.keys” files from the extracted folder.
Step 3: Install Switch Firmware
Once the Keys are placed to their location, its time to setup the Switch Firmware.
It will help the emulator to replicate the Switch environment, integrate firmware containing essential components into the emulator.
1. Download the latest Firmware.zip file from the provided link.
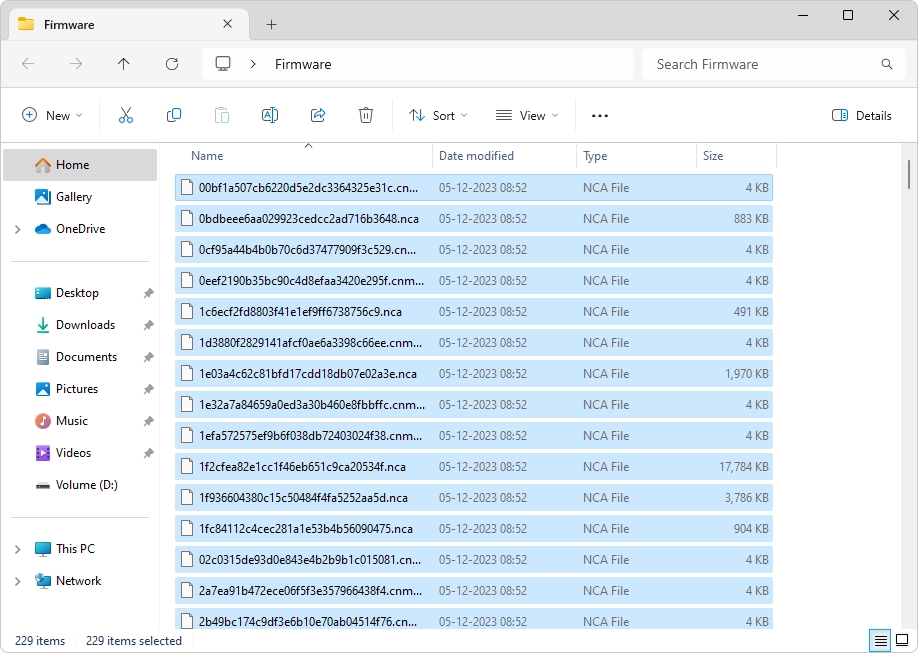
2. Once downloaded, extract all files from Firmware.zip into a designated folder.
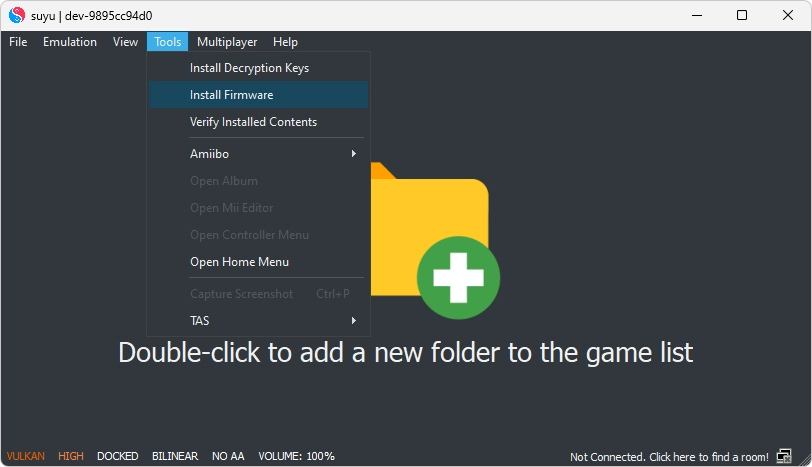
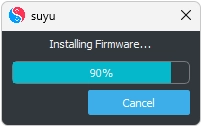
3. Now, launch the Suyu emulator and navigate to Tools > Install Firmware.
4. Navigate to the folder where you previously extracted the components of the firmware zip file and click on the “Select Folder” option.
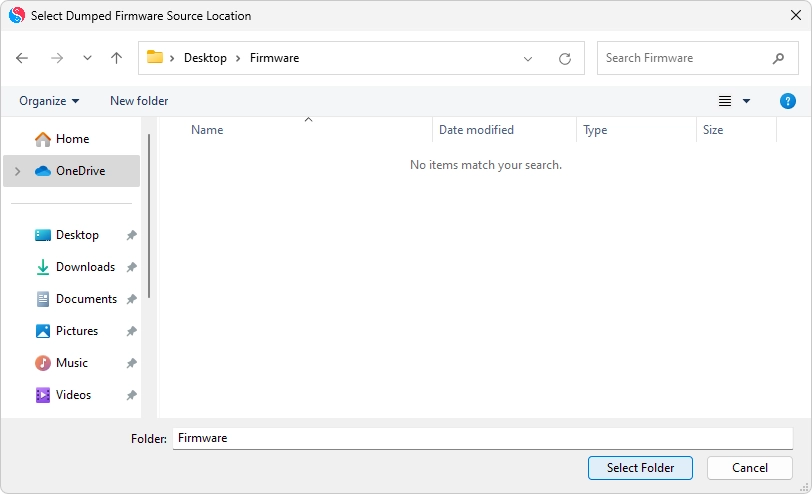
The emulator will now begin the firmware files’ installation.
Step 4: Add Game Directory
Once you are done with the installation of keys and firmware files, now is the final step to add the game directory from where the emulator is going to fetch and run the Switch games using the NSP and XCI ROM files.
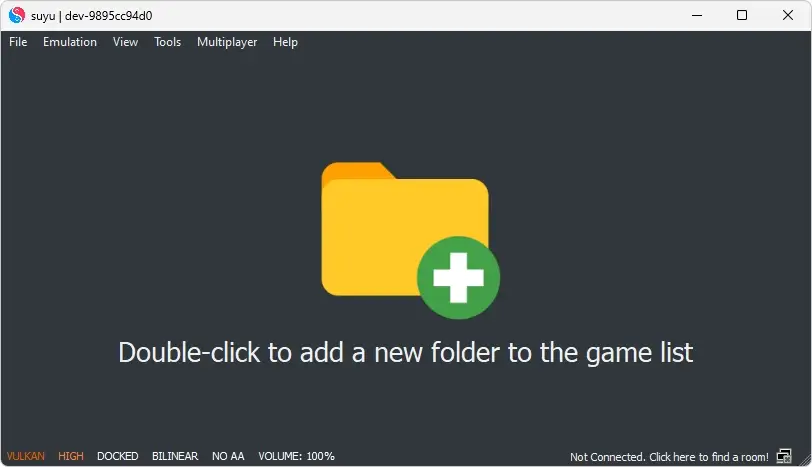
1. Launch the Suyu Emulator and double-click anywhere on the Suyu Emulator window to add a new folder to the game list.
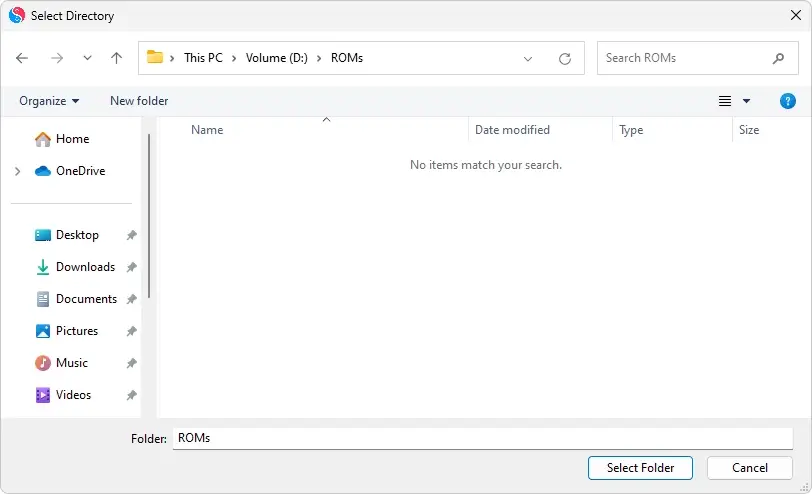
2. The “Select Directory” will get open.
Here, navigate to the folder where your game’s XCI or NSP files are saved.
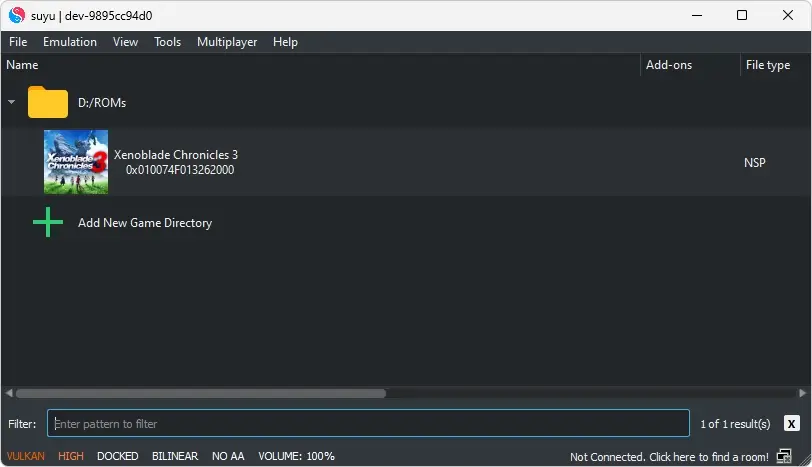
3. Select the game folder to display available games on the main screen.
Tip: Finding a reliable source to download Nintendo Switch ROMs is a tedious task. Hence as a recommendation, you can try the below download link to get the Nintendo Switch ROM files.
Congratulations! You’ve completed the setup process.
Double-click on your desired game to embark on an exhilarating gaming adventure right from your PC.
The Suyu takes Nintendo Switch gaming to a whole new level.
Follow our simple guideline to be able to enjoy the versatility of the PC in the access of countless Switch titles.
Classic or new-releases, Suyu will offer an unlimited amount of fun.
Best
yo tengo como un “bug” por q a la hora de escribir se buguea el teclado del juego y los textos, ¿a q se debe eso y como lo puedo solucionar?
Not loading the games. Just closing as I click them. Did every step above and games show up but don’t launch.
Very good walkthrough, but I’ve only one question i can’t find anywhere. once the firmware files are installed to Suyu, can i then delete the folder along with the files, or do I need to keep them?
Pingback: Guide to Install Prod & Title Keys on Suyu Emulator [2024]
Pingback: Nintendo Switch ROMs for Consoles & Emulators [Suyu, Sudachi, Yuzu, Egg NS, etc.]
Good
Не работает. Я сделал всё строго по инструкции, но при загрузке игры всё исчезает. Сначала крутит, типа загружается, а потом просто пропадает, что приходится снова запускать.
I need help when trying to run a ROM I get the following error and I don’t know what to do
Error while loading ROM!(0007- 0034)
The NSP file is missing a Program-type NCA, Please follos the suyu quickstar guide to redump files. You can refer to the suyu wiki or the suyu Discord for hep
But when I enter the link on the list, the page comes up with a 404 error and I don’t know what I should do.
Is there a way to increase the fps from 30. This is my first time playing on an emulator so I don’t know much about this. Is it possible to increase the fps, if so then how do I do it?