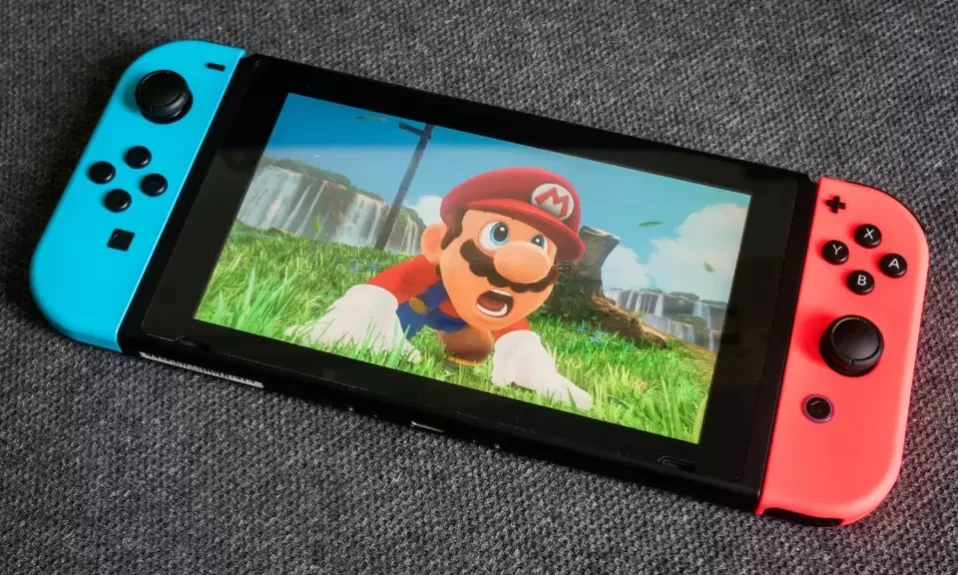
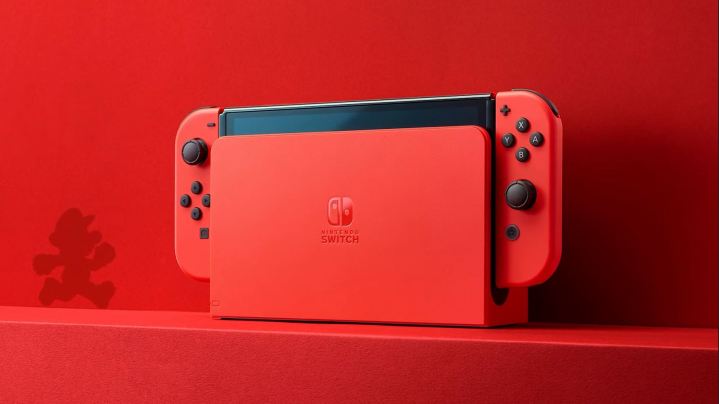
Entered the market in 2017, Nintendo Switch is still one of the most favorite gaming consoles, because of huge versatility and portability. Nintendo Switch Console easily goes into both modes.
Transition if you’re in for handheld gaming. Transition if you want to experience your play at home on the big screen. More information on this—a beginner’s guide, actually—on how to connect your Nintendo Switch to a TV with or without the dock.
Setting up the Nintendo Switch with its Dock
Gather Your Equipment: If you are going to set up your Nintendo Switch console for television play, then the things that you have to include will be the Nintendo Switch console itself, the console dock, an HDMI cable, and a system power cord.
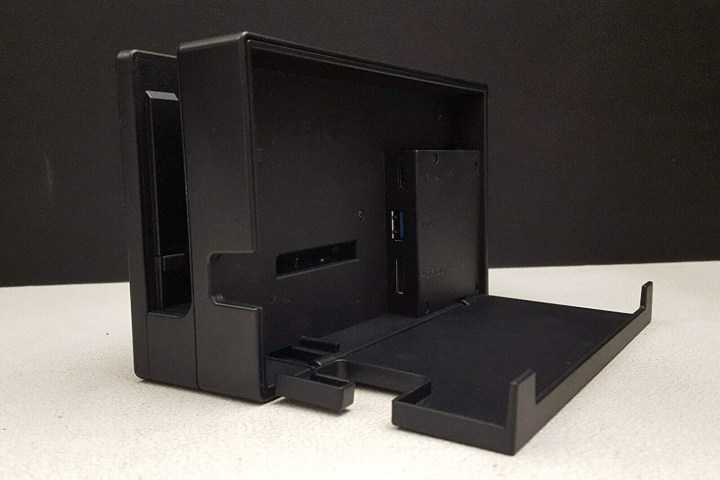
Preparing the Dock: Start from behind the docking system. There are three outlets: AC adapter, USB, HDMI out. For setting, you will only need the AC adapter and HDMI out.
Plug in the HDMI Cable: Grab one end of the HDMI cable and insert it into the dock’s HDMI out port. Connect its other end to any free HDMI port of your TV or monitor.

Plugging in the Power Adapter: Insert the AC adapter (model No. HAC-002) into the dock’s AC adapter port. Connect the adapter’s other end to a power outlet.
Securing the Cables: Close the back of the dock, ensuring the cables pass through without being pinched or damaged.
Placing the Console in the Dock: Carefully insert the Nintendo Switch console into the dock, ensuring the LCD screen faces the same direction as the dock’s front panel. The console screen will turn off upon docking.
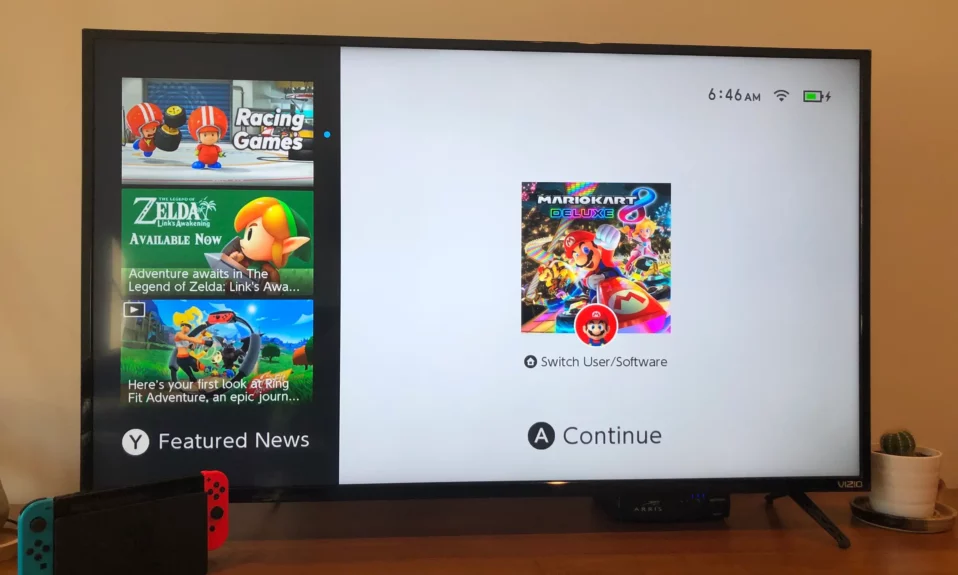
Powering On: Turn on your TV and Nintendo Switch. Set the TV to the correct HDMI input channel to display the Switch’s output.
Connecting Your Nintendo Switch to a TV Without a Dock
1. If your dock is unavailable or damaged, purchase a USB-C to HDMI adapter with both USB-C and HDMI ports.
2. Remove the USB-C power cable and HDMI cables from the original Switch dock.
3. Insert the USB-C cable and HDMI cables into the purchased adapter.
4. Plug the USB-C adapter into the USB-C port on your Switch console.
5. Power on your TV and select the correct HDMI input channel to display the Switch’s output.
Important Notes:
- Handle your console with care to avoid scratches or damages, especially during docking.
- Ensure both Joy-Cons are attached or synced with the console before gameplay.
- After each gaming session, consider reattaching the Joy-Cons to the docked Switch to ensure they remain charged.
- Be cautious about overheating the Switch; prop it upright for better airflow during extended gameplay sessions.
By following these detailed steps, you can easily enjoy playing your Nintendo Switch games on the big screen, whether using the dock or an alternative method.